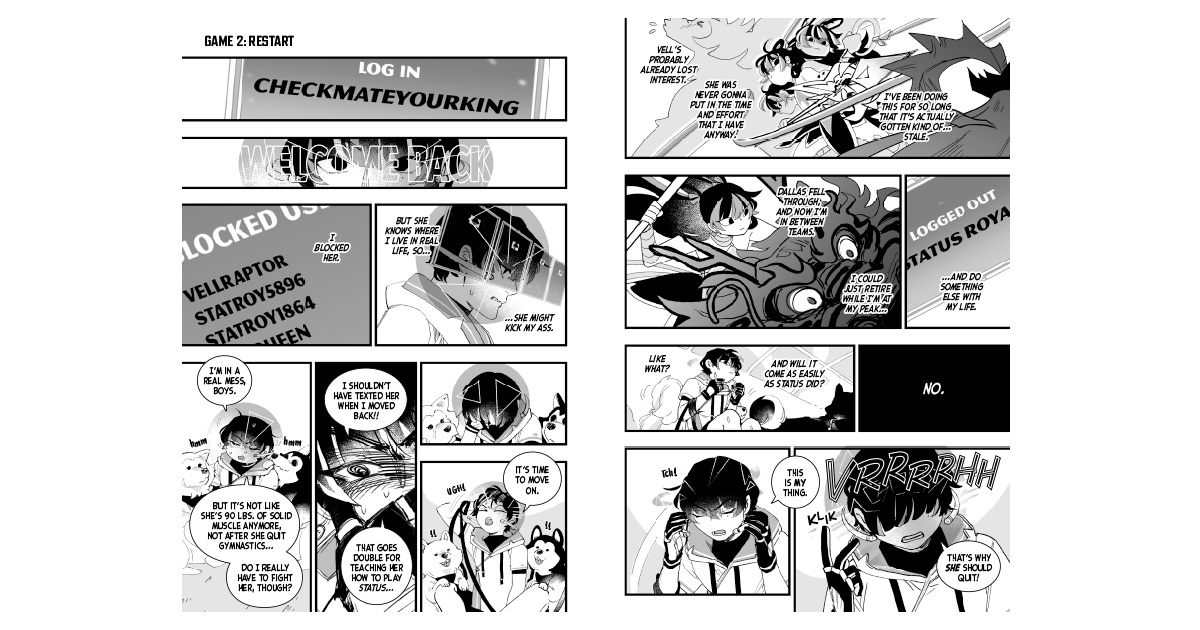
A quick guide to best practices when creating your own manga!

Creating a manga requires patience and practice! There are several stages, and it can be hard to know where to start, so we’re sharing a typical manga creation process for you to try out for yourself!
Outline
Before you start drawing, the story and characters should come first. These are the main attractions of your manga, so making sure you have a solid understanding of your characters’ journey, and the world around them, will save you a lot of brain power when you get started on the art.
Character Designs

Designing your characters first will help you get familiar with them! These can just be loose sketches to get the feel of your character and what expressions and body language works for them. You’ll need to be comfortable drawing your characters since manga is very dynamic and character driven, so you may be drawing them for a long time!
Thumbnails

Thumbnails are an essential part of the manga making process. Called nemu or “name” in Japanese, the thumbnails are a rough draft of your manga that should focus on story pacing and how your characters move through the setting, plus they include dialogue. Balloon size and placement can affect composition, so dialogue is necessary. If not directly on the thumbnails, please provide a script to indicate which dialogue belongs to which character and panel (be sure to also include sound effects). Thumbnails are meant to be loose sketches with a focus on important emotional expressions where necessary to reflect the mood you want to achieve. Most feedback from an editor will typically be given during thumbnails as revisions are more easily made at this stage. It’s expected that the thumbnail stage will take time, so don’t try to rush them!
Once your thumbnails are locked in, you can finalize your script and set your sights on making the art look amazing!
Pencils

When preparing for this stage, make sure you have your art dimensions set to your final page size. While thumbnails can be any size for drafting, pencils are the start of the final art process, so missing this step might cause problems when you’re ready to ink and tone.
Your pencils should be a translation of your thumbnails into your intended final art. Your thumbnails should guide you through the panel layouts and important scene compositions, so focus on showing off your characters and details of your art style. Editorially, comments would mostly be focused on making sure the art details are at their best e.g., character anatomy, expressions, or settings and perspectives.
Inks and Tones
Getting to the finish line is sometimes a mental game. For some it may help to have separate stages for inking and toning, but some creators may be eager to complete the pages at the same time. We will generally describe them as separate stages but at this point, it’s the home stretch, so it’s up to you what your preference is!
For these stages, the focus is no longer on story development or on art details but polishing and finishing everything you’ve achieved up to this point. Try not to look back, be confident in the work done in the previous stages and boldly ink your pencils! Since manga is mainly in black and white, creating dimension and distinguishing between subjects in a monotone palette can be challenging. Take special care of your line weights between backgrounds and foregrounds and between subjects and details. Experiment with solid blacks or white hairlines to help create lighting and separation. These challenges are also addressed by a good tone technique.
The black and white art of manga means there is a limited palette to achieve dimensionality that is more easily achieved in color. That is what makes manga so unique and a “style” of its own. Manga’s long history with screentone has created a look of dot patterns that are used to evoke the feeling of manga. Toning is not simply a gray version of a color image; it is a different approach to viewing lighting and contrast. With the rise in digital workflow, greyscale toning is a growing technique, but the same principles of lighting and contrast still apply.
And finally, back to the words!
Lettering

With the advancement in layout applications, lettering can be done separately and as early as the pencil stage. If you have a layout program, the pages can easily be updated in the lettering document. However, if you’re a creator without access to a layout program, lettering after finishing your inks and tones is the way to go! Some creators who choose not to handletter their sound effects during the art stages can use this time to include them. Lettering is a sophisticated art of its own!
Now you have a manga that’s ready to be shared! Every creator has different strengths and skills and finds some parts are easier than others, so don’t worry about taking your time during certain stages. It will all come together in the end for everyone’s reading enjoyment!
If you have a manga one-shot that you’d like to share with the VIZ Originals one-shot program, check out the guidelines for a one-shot submission or you can submit via our Submissions Portal!
Already have a VIZ account? Log in.
Don't have an account? Sign up.
Enter the e-mail address associated with your account and we'll email you a link to reset your password.